A very overlooked (and I think it’s safe to say ‘underutilised’) piece of functionality in Dynamics is the ability to make lists for most entities inline editable, Ie. the ability to provide an ‘Excel-like’ experience for your users.
This can aid greatly in data entry and modification allowing users to work their way down a list updating records without the tedium of the opening, editing, saving, closing workflow most users have come to expect.
In this article, I am going to cover how to set up the Editable Grid View for accounts and list some of the limitations.
How to Setup the Editable Grid View
I have modified the ‘Active Accounts’ view as in the image below for demonstration purposes although it is important to note that we’ll be setting the default behaviour of all views of the Account entity.
At the end of the configuration steps below, we will have allowed our users to easily update the contact details for our active accounts.

- Navigate to Settings > Customizations > Customize the System.
- Open the ‘Entities’ element in the left-hand navigation then click ‘Account’.
- Open the ‘Controls’ tab which should display options similar to the image below –
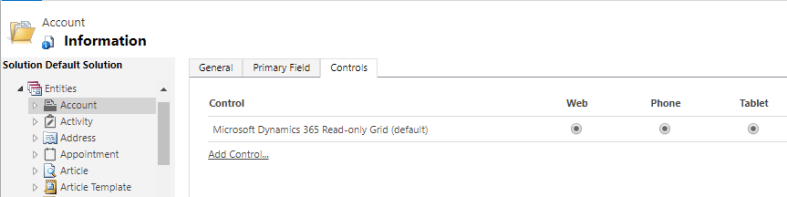
- Click ‘Add Control’ at the bottom-left of the current controls.
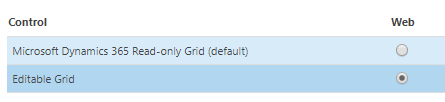
- In the Popup dialog select ‘Editable Grid’ and then click ‘Add’.

- You should now see two separate controls in the list, with the new one being called ‘Editable Grid’.
- If you want to make the editable interface the default type for your users at this point then be sure to check the ‘Web’ radio button for that control as shown below –
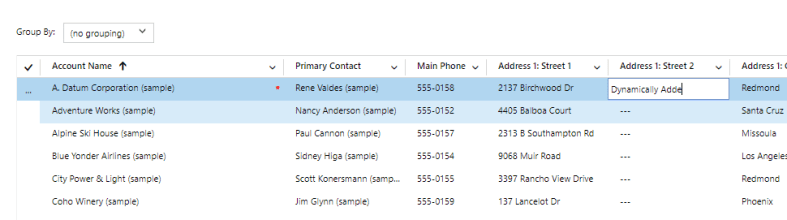
- Now that we’ve enabled the editable interface for our users and set the new editable interface as the default any users that access the system will now see views in a manner similar to the image below –
Further Steps
From here it’s then possible to modify the behaviour of lookups in specific views so as to limit what results they return, and to group the view based on fields in the view. This can all be done by clicking ‘Editable Grid’ in the list of controls and then viewing the options at the bottom of the solution window.

If you want me to cover anything further or if you spot a mistake please be sure to comment below.
