An often overlooked feature of Dynamics CRM is the ability to quickly and efficiently add sample data and to remove said sample data once you’re happy with your setup, which is a great help to any form of testing.
In this short article, I’ll go over adding and removing Sample Data from your deployment.
Adding Sample Data
To do this you will require System Administrator permissions.
- Access your CRM instance.
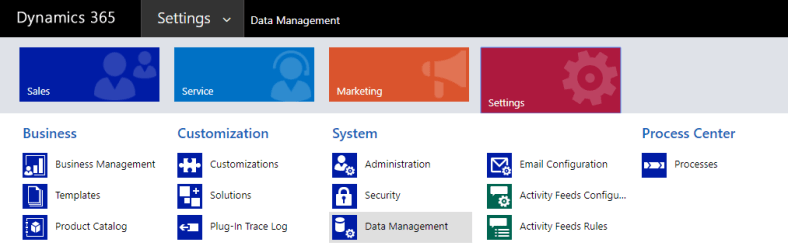
- Navigate to ‘Settings’ and then ‘Data Management’ which is found under the ‘Systems’ heading.
- Click ‘Sample Data’ which is normally found at the bottom-right of the available options.

- A popup window will appear, click ‘Install Sample Data’.
- After a few seconds/minutes, CRM will automatically create multiple records for Contacts, Accounts, Leads, Cases etc.
Removing Sample Data
Once you’re happy with your configuration/testing then it’s time to remove the Sample Data, luckily this is extremely easy to do –
- As above, navigate to ‘Data Management’.
- Click ‘Sample Data’
- In the popup click ‘Remove Sample Data’.
- After a few moments, all sample data in the system will be removed.
